A little background:
While I was growing up, I guarantee I made dozens of paper flowers like these. I remember sitting at a 6 foot table in the park Center in Dallas with my 'Buelita (great-grandmother), Nanita (grandmother) and a bunch of their friends. I would listen as they giggled and gossiped about who-knows-what, while their fingers gathered colorful layers of tissue paper and carefully - lovingly - created beautiful flowers. It was always so much fun.
You know how in America, women used to gather together to quilt? (Yes, I know, some still do.) Well, this was sort of the same deal. I wonder, how many of you mamis now, grew up making tissue paper flowers, too?
Anyway, I got to thinking as I was wandering through Target or Wal-Mart a few weeks ago, when I could introduce this craft to my own niños. And I happened to spot the perfect yellow-golden tissue paper for $1. Which, of course, immediately made me think of marigolds...and Día de los Muertos. And then again, this week, several of the teachers I sometimes chat with, were asking about using them in their school classes.
So here's my small version of the beautiful tissue-paper flowers...
Materials:
- Several sheets of yellow, orange or golden tissue paper
- 6-inch green pipe cleaners (or 12-inch, cut in half)
- Scissors or small craft wire cutters
- Ruler (but only if you are a perfectionist)
Directions:
First, I take about 5 or 6 layers of tissue paper and I cut a square about 4 to 5 inches wide. (Normal-sized flowers usually take 8 to 10 inches.) Older kids can measure and cut these out themselves.
Then we begin accordion folding. Since we were making small "marigolds", we kept the fold small, too. About 1/2 inch or so. It does not have to be exact. My 4 year old, did his own "folding" and the end result wasn't perfect, but it was unique and beautiful.
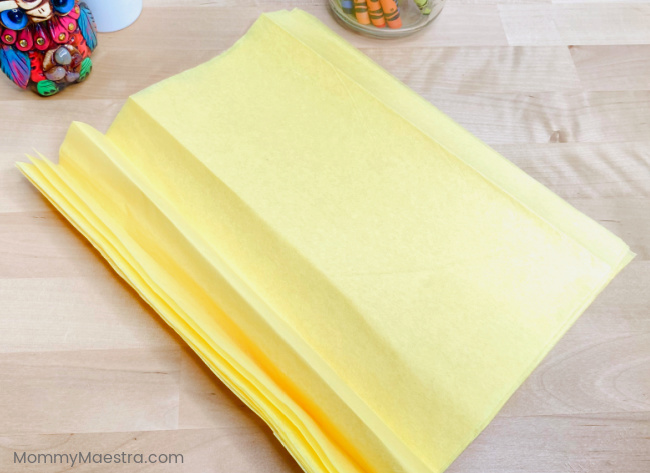
To fold like an accordion, first lay your layered squares flat on the table in front of you, then fold the bottom 1/2 inch up and away from you.
Next, turn the square over so that the folded edge is on the bottom of the stack and furthest from you. Now fold it back the other direction so that the new crease is even with the top of the first fold. (¿Qué? Oh, just look at the picture.)
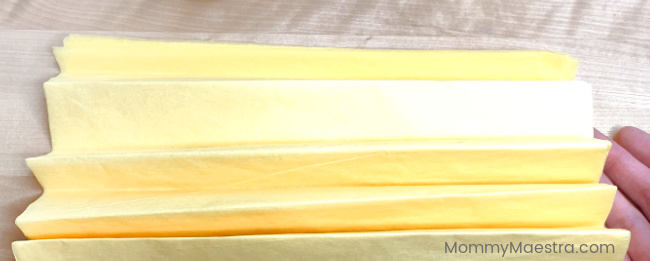
Now keep doing that back and forth folding until your paper looks like this....
(At this point, you might consider taking some pinking shears to either end to create the more ruffled look of marigolds. But I couldn't find mine!)
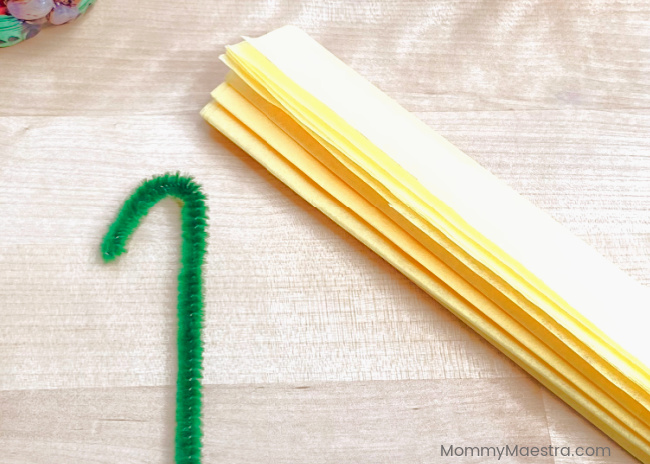
Then, take a 6 inch green pipe cleaner and make a hook at the top, like so...
Slip it over the middle of your folded paper and twist it closed. (Some people prefer to pinch the middle of the flower. I found that this actually made things harder with this smaller size flower, so you may want to experiment to see what works best for you.)
And lastly, carefully pull the layers away from each other, starting with the top layer and pulling it towards the "center" of the flower. (Tip: If you have a table with leaves, you can separate them just a bit and stick the stem down into the crack to hold it for younger children so that they can use both of their hands to peel the layer apart.)
Once you are done, you can add felt/foam/construction paper leaves by simply cutting out a leaf shape and then using a hole punch to make a hole in one end and sliding the pipe cleaner into it. Or you can just stuff them all into a bunch of small vases like we did.
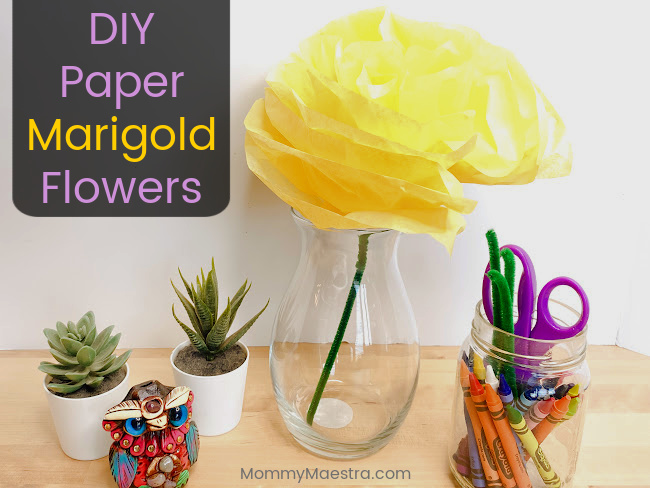
And - Poof! - you now have your own set of cempasuchil (marigolds) to reflect the sun!
Hope you enjoy making your own!
Want to find this post again? Pin it!


